First off you want to make sure you have all the materials before beginning (trust me). Since this is a tutorial for a crocheted case, you are going to need some yarn. This is your chance to get wild and to express yourself how you want. You will be crocheting with three strands of yarn at a time so you can choose up to three (more if using a lighter weight yarn) colors of a worsted weight yarn. I used this yarn from KnitPicks.com which I loved, but there are so many choices out there. The next thing to consider when buying yarn is determining how much you will need of it. I have a 17 in laptop so I had to use four of those 50 gram balls (11o yards each) for each of the colors I used (a total of 12). So just make sure to read how much yarn (go by yardage) is in the ball/skein and determine how many of those you will need. Other things you will need are:
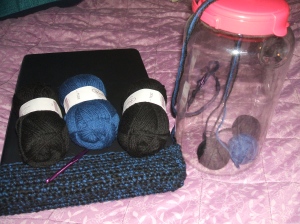
- Crochet Hook (Size I/9 5.5 mm)
- Basic crochet knowledge (YouTube is a great tool, its how I learned)
- The device you wish to cover
- Buttons to keep your case shut (two or three depending on the look you are going for)
- Something to hold your working yarn in so it not rolling all over the floor
- Good music (I'm in love with Matthew Mayfield)
- And most importantly, PATIENCE (chocolate helps)
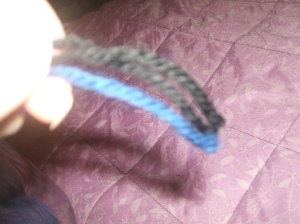
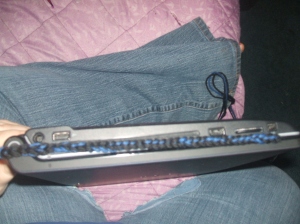
So to begin you are going to need to make the base chain. The key is to make this base chain 5 or 6 chains SHORTER (little shorter than an inch) than the device you are using to make a snug fitting case (if you want to felt then I would guess you would make it a little better). Once you have the base chain, you want to insert your hook into second, NOT the first, chain away from your hook and do TWO single crochets in that chain. After that you will be putting ONE single crochet in each chain EXCEPT for the last chain in which you will do TWO single crochets, then continue around on the other side of the chain to the first chain where you need to slip stitch to join the two sides. To continue you are going to put ONE single crochet in each stitch as you continue your way up, just remember to join your stitches when you get back to where you started with a slip stitch and then go in the opposite direction for the next round. Before you get to far with the rounds you want to check to make sure your case is fitting how you want it. This first part will probably be the most frustrating and take a couple of times to get it right (it took me quite a few times before I was happy) but don't get discouraged cause it will all be worth it in the end. Pop a couple of sweets, I use chocolate, to help get you through this part.
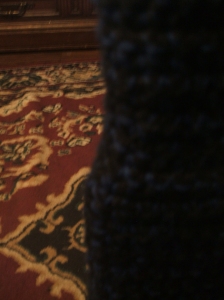
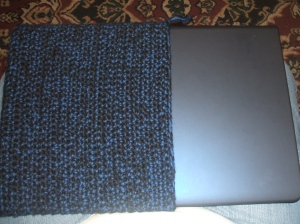
Once you get past the "Oval of Hell" and have a little sugar high to crank out those rounds make sure to test the case especially the longer it gets. In the picture above I'm not quite there, but you want to have 2 inches (give or take) at the top before you stop making the rounds.
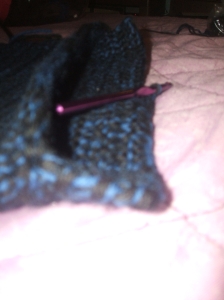
At this point you will only be crocheting rows on one half of the rounds. To figure out how far to crochet you can count your stitches and find the half way point, lay you case out flat and mart the middle stitch in the curves or place the case on your device and mark where you want to stop. I personally laid mine out flat and marked the two sides.
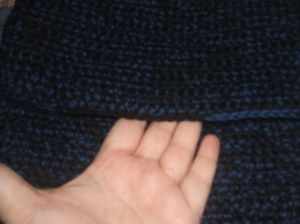
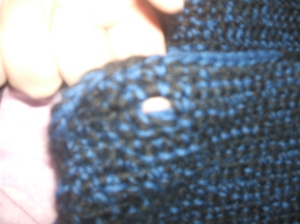
Continue crocheting this way until you have enough of a flap to fold up over your device and overlap the rounds enough to where your buttons will be. Since I didn't really have buttons I just eyeballed it a little. Note, if you are going to use bigger buttons you may want to account for that by skipping a stitch. In mine I decided to skip a stitch in the previous row. To do this I single crocheted in the previous stitch, chained 2, and then single crocheted in the stitch after the skip. For security I crocheted one more row.
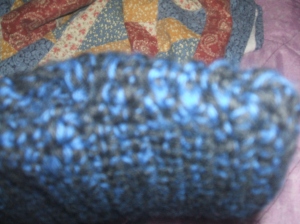
Next is the finishing details. Yay, almost there! Once the flap is finished, you need to do a single crochet around the entire edge of the flap from one bottom edge to the other (U shape). Next you are going to form the cap of the case. Place your device in the case, mark where the fold should be and hand sew or crochet the two sides of the fold together until you are about to the main part of the case. Do the same for the other side. You will want to do this part WRONG-side out to form a more rounded look. Last but not least sew on your buttons. And wa-la...
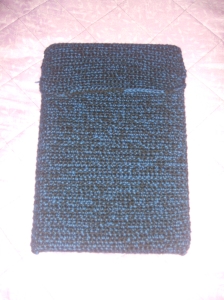
your case is finished. But why stop there? This is the time where you get creative and make it your own. So embellish, embellish, embellish! I'm going to be doing a little cross stitch on the back and will get those pictures up here when I'm done. Now it's your turn so get hookin'! Stay crafty!

P.S. There has been a few requests to do a video for this tutorial, so I will be looking into that. So be sure to subscribe or send me an e-mail so I can keep you updated if you are interested in that :)


No comments:
Post a Comment